Deploying with Netlify
By @Dave_Conner on August 7, 2018

Modern front-end development covers a whole spectrum of disciplines and concerns. From styling layouts to creating servers and APIs to deploying applications and sites. All these task can fall under the FED umbrella. One of the hardest to become proficient in is dev ops and deployment. Usually, the set up and configuration for a deployment happens at the beginning of a project. Once in place it is rarely revisited until the next project comes along and you have to knock off the cobwebs in your brain to do it all again.
Luckily, there has been advancements in these areas with services like Github pages, Let’s Encrypt and Travis CI. These companies have free tiers that offer developers an easy way to host passion projects and portfolios. It has never been easier to set up CDNs, SSL certs, and continuous integration. Even junior developers are able to easily utilize these services and get their content to the public.
I am here to tell you it gets even easier. Netlify is an “all-in-one workflow that combines global deployment, continuous integration, and automatic HTTPS” right out of the box. For FREE! There is so much awesomeness offered in their free tier you will seriously wonder how they can possibly afford to do so!
Steps to deploy
The Netlify app has an amazing UX and allows you to deploy your site in three easy steps.
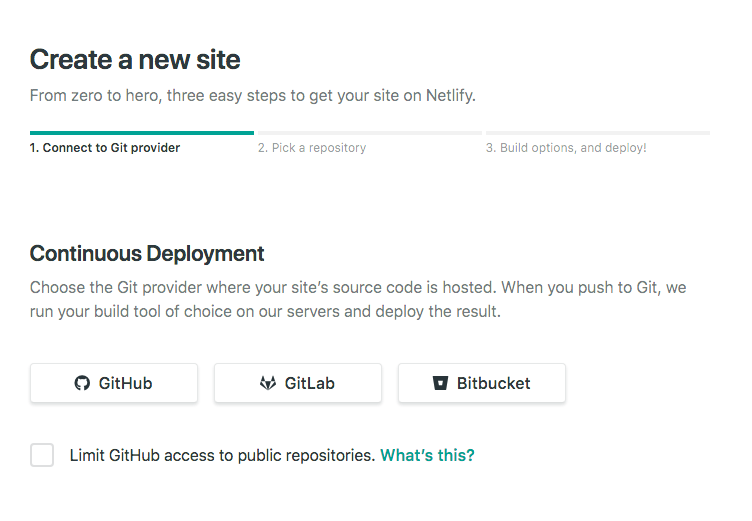
1 - Connecting your repository

Github pages was a great step forward in providing an easy means of deploying your site or SPA. The obvious negative is that you must use Github as your distributed repository manager. Netlify allows you to authenticate and hook up repositories from not only Github but Gitlab and Bitbucket as well.
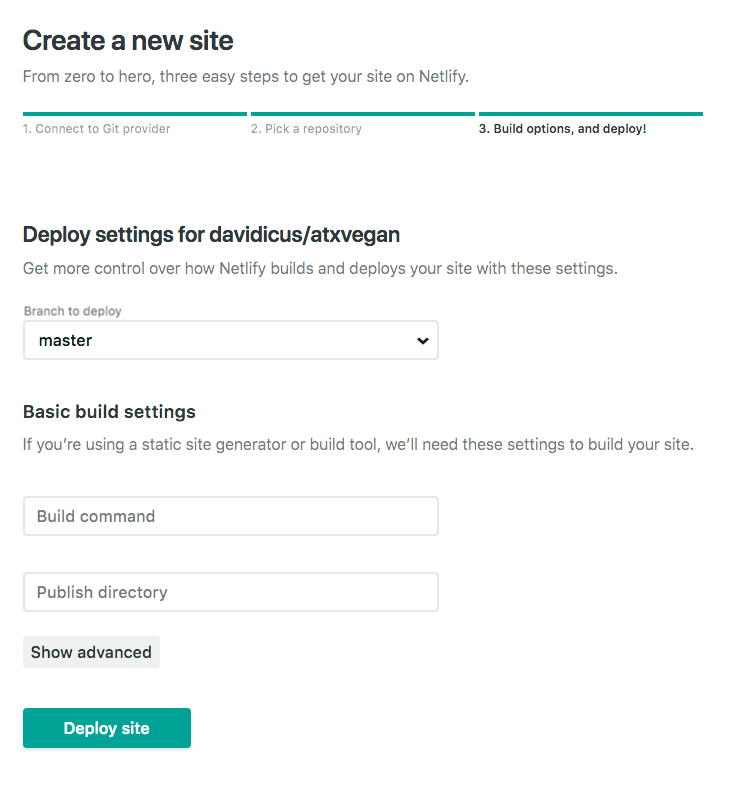
2 - Adding your build steps

With a set of three fields you can configure your build process. These fields allow you to set the branch that will trigger a build, set up any build commands, and choose a directory that you want to serve your site from. Additionally, you can set up environment variables needed during your build process by clicking "Show advanced" button.
3 - Deploy and Configure Site

Once the build scripts are in place and you have clicked the deploy button you are a few short moments away of having your site live. At this point you could sit back and enjoy just how easy that was. Or, you could enhance your site with some quick configurations! Netlify offers a very easy way to hook up custom URL and a one button click ssl cert add on that they will renew and re-upload for you! What?! All this, FOR FREE!
That’s not all!
That whole process of signing up, deploying, adding url and ssl cert legitimately took me five minutes as a first time user. This is amazing UX. Netlify is a tool that inspires me to create more side projects because it takes care of a huge section of concerns. And they didn't stop there! They also provide micro services with free tiers that scale with your needs. These services include an email server, A/B testing, and Auth. I host this blog on netlify and I suggest you check it out. www.netlify.com/
resources: